Creating and editing individual entities
Aleph provides an easy-to-use spreadsheet interface for creating, editing, linking, and deleting structured entities within an investigation workspace.
Creating entities
While entities (names of people, companies, bank accounts, addresses, etc.) can be added to an investigation in bulk by creating network diagrams or via generation from an uploaded spreadsheet (see next section), it is also possible to create and edit entities individually.
-
To get started, go to Entities on the sidebar of any investigation page and select one of the options listed under Add a new entity type:
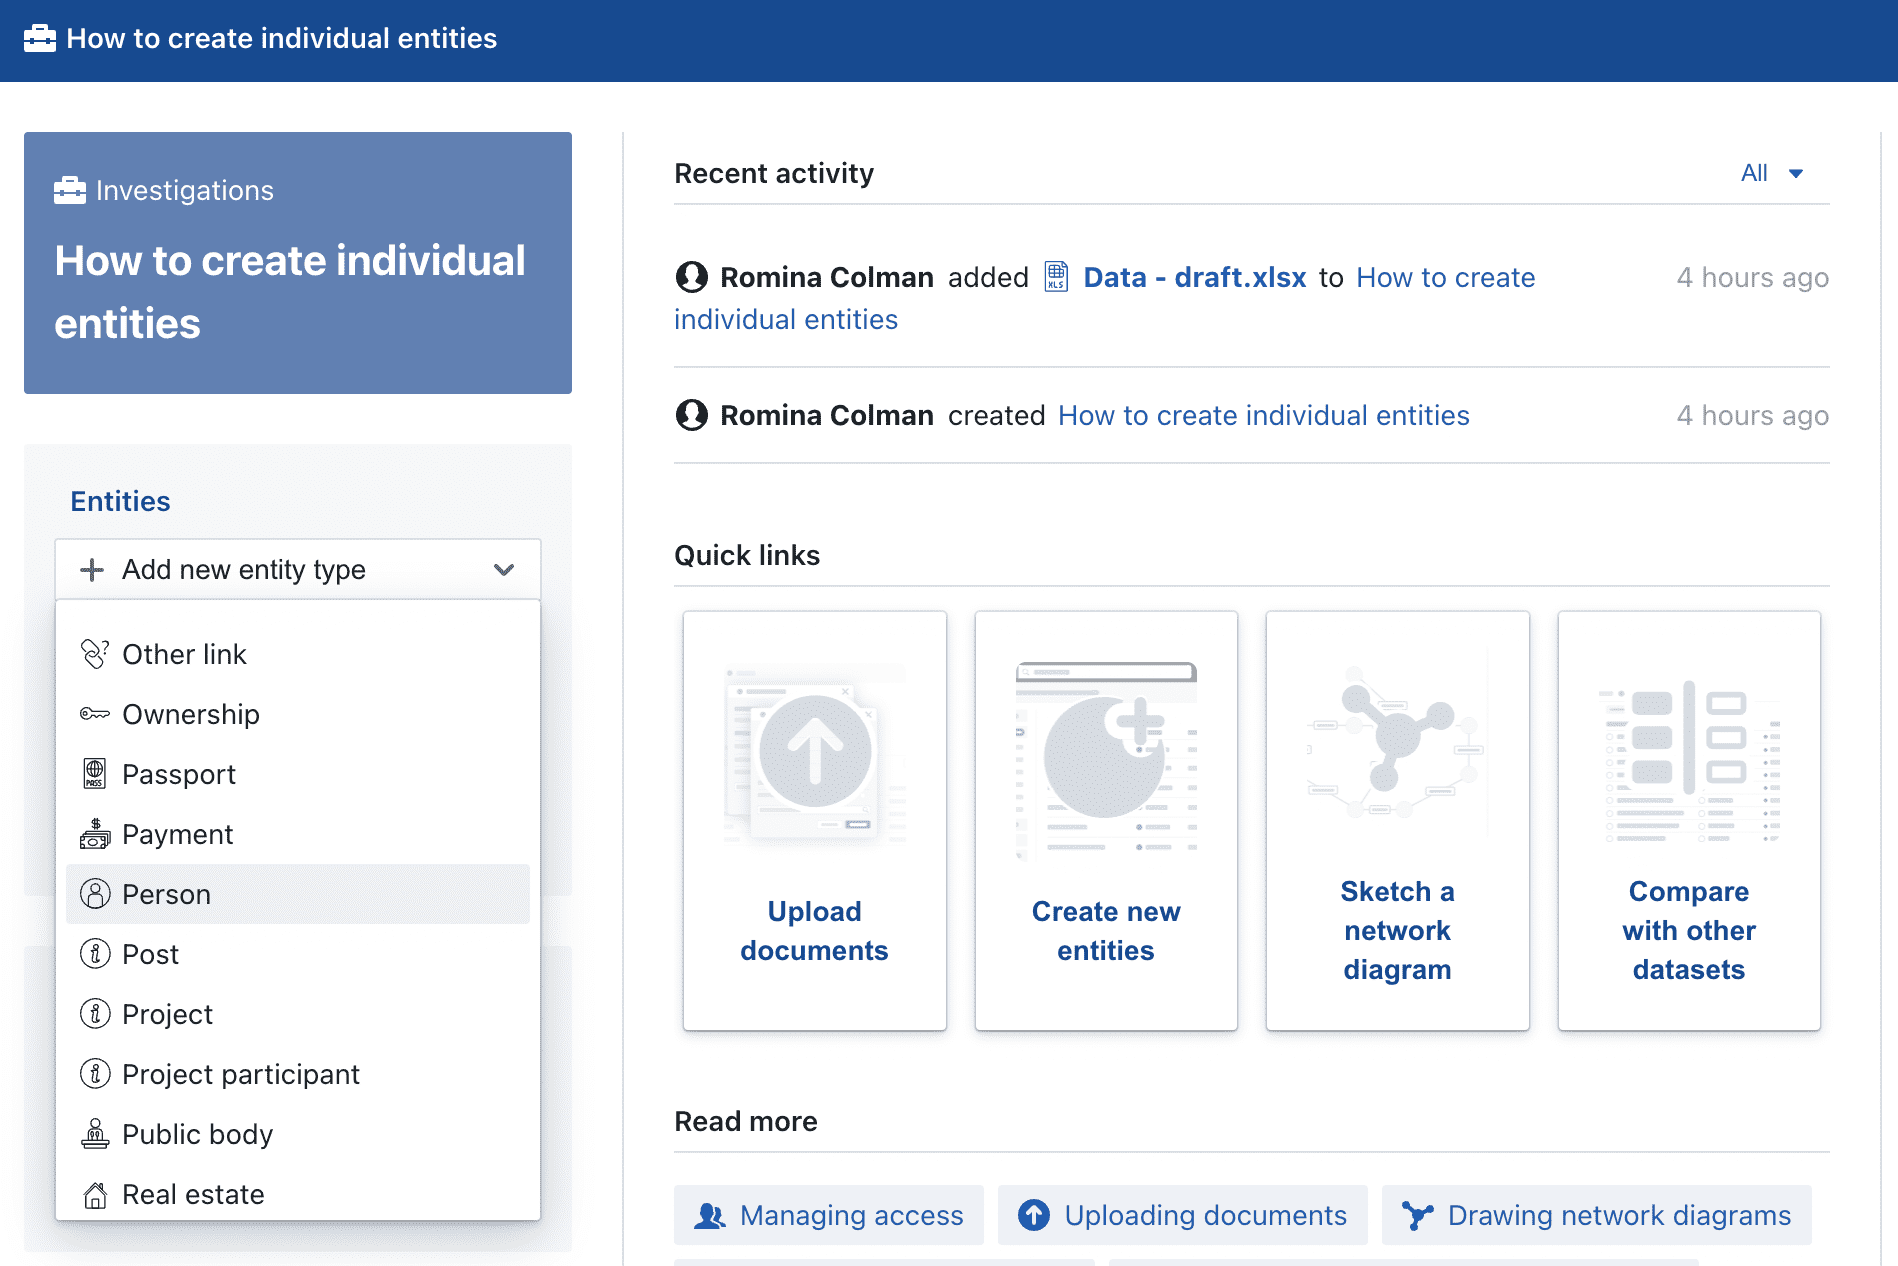
Let’s say you want to add a list of 5 people you are interested in checking if they appear in Aleph datasets. You just need to click on Add new entity type and select Person.
-
You will now see the following screen:
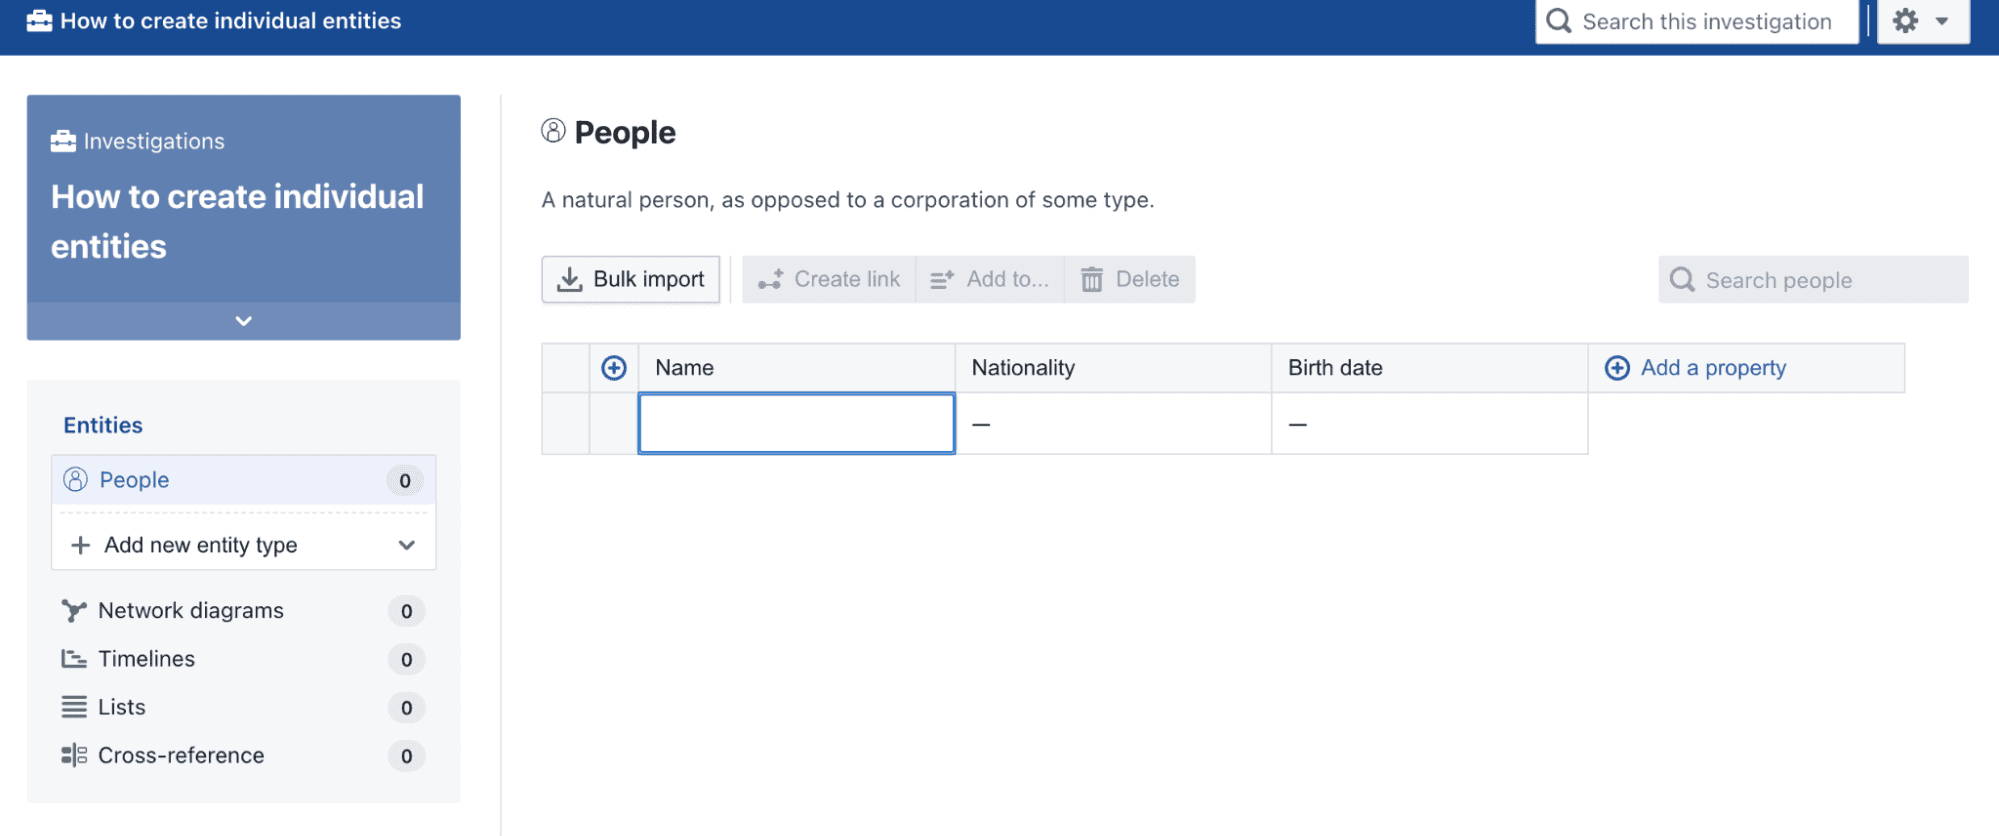
You can then start typing the full name of the person and other relevant data you might have such as Nationality and Birth date. The format for birth dates in Aleph is
YYYY-MM-DD. In short, most properties, like a person’s name or address, are free text values, but other properties, like birth date or nationality are restricted to date or country values, respectively. When you click to edit a cell, the table editor will display a slightly different editing input, depending upon the type of the property value you are editing. -
Once you’ve entered data in a cell, press Enter to save the changes or click outside of the cell you have edited.
-
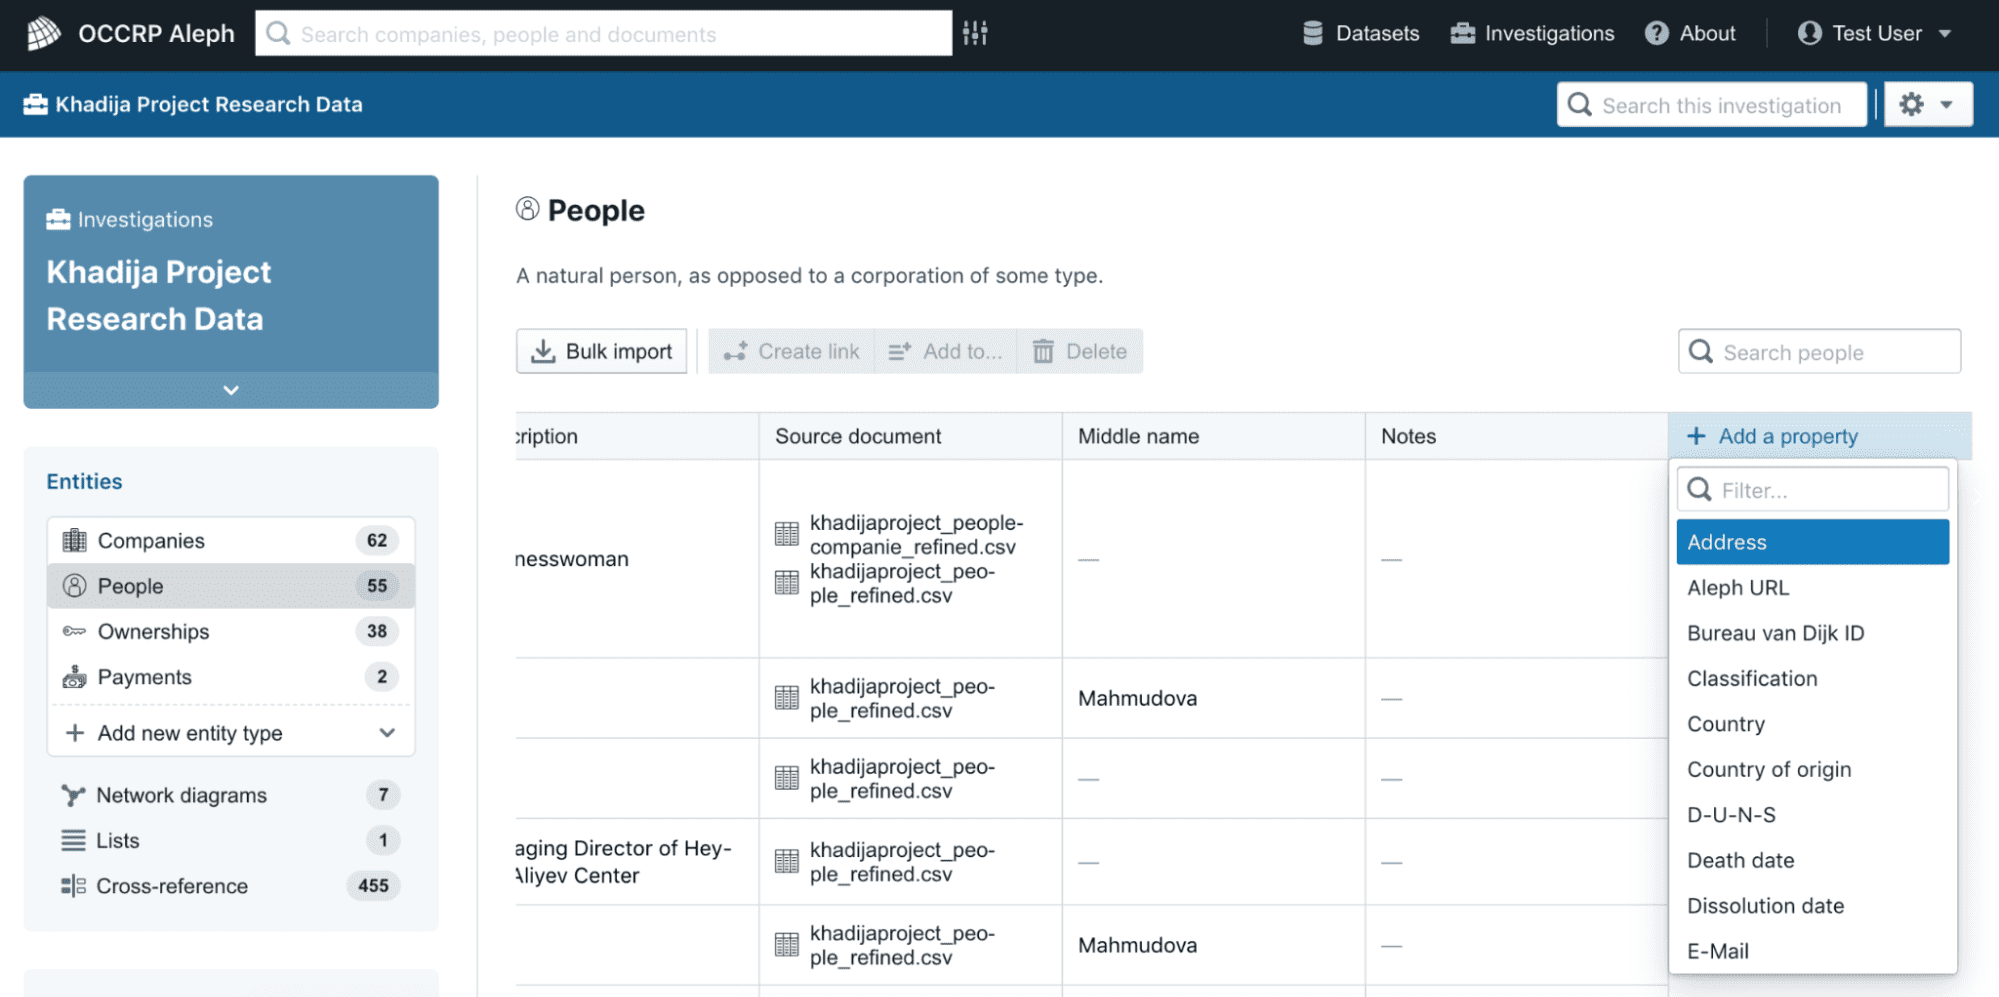
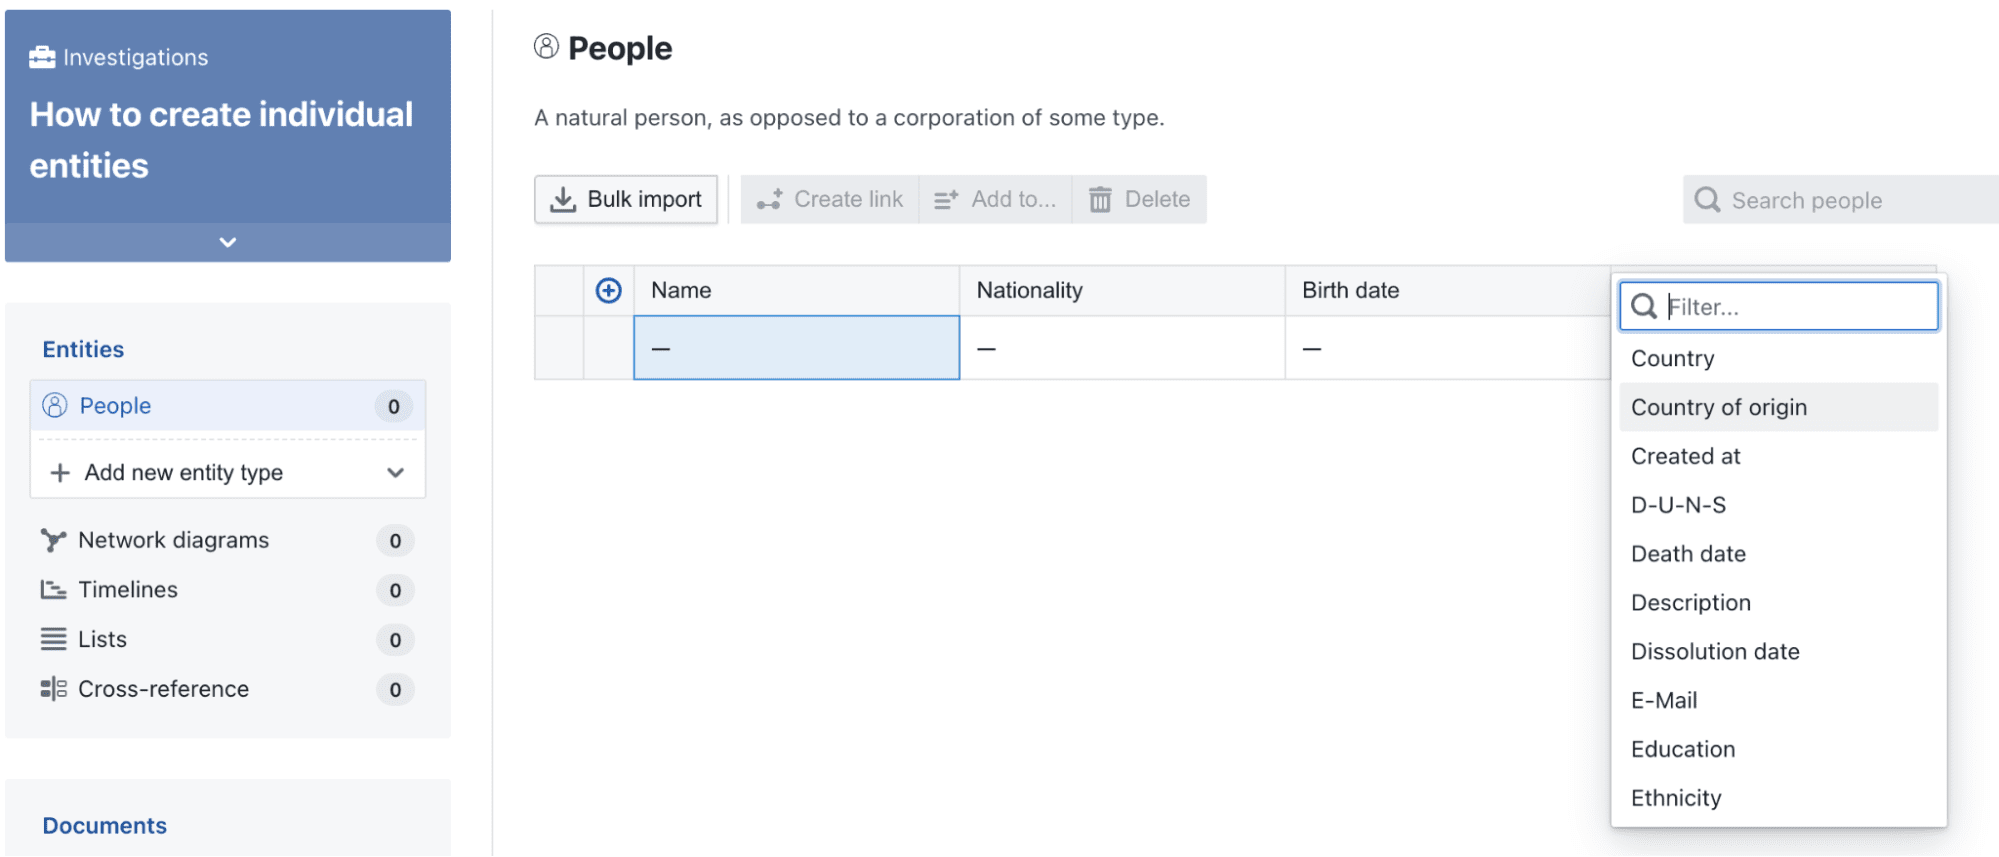
By clicking on the Add property button, you can select other data categories you want to add regarding people you are adding to the table. For example, you can add the person’s country of origin and addresses, among other available options:
-
To create another new entity using the table editor, either click the Add new button at the top of the table:

Or simply start typing in one of the cells of the bottom row of the table:

Editing entities
Editing properties of an entity in the table editor works in much the same way as any spreadsheet editor like Microsoft Excel or Google Sheets.
-
Click in a cell or simply start typing in an active cell to edit its contents
-
Click outside of a cell or press Enter to finish editing a cell.
-
Copy and paste the value of a cell or multiple cells to duplicate values in other cells of the table.
Adding additional properties
As mentioned above, each column in the table corresponds to a property: an element connected to the person, company, contract, etc. in your table. For example: an ID, an address or an e-mail.
By default, the table editor displays the most commonly-used properties of an entity type (e.g. name, nationality, and birth date for a person) as well as any properties that contain values. But each entity type has many more additional properties that can be added to the table. To add an additional property:
-
Scroll to the far right of the table.
-
Click the Add a property button.
-
Then select a property from the list.